
I made these white and grey (marble looking) boxes using 12" x 12" card stock. Each piece of card stock yields 2 boxes. Each finished box is 2- 3/4" x 2 - 3/4" x 3 - 1/4" high.
To begin I used a blunt end darning needle and my quilting ruler to score lines on the back side of the card stock, as indicated by the grey lines on the illustration below.

Then I cut the card stock in half along the scored mid-line On each half piece of card stock I scored two more lines as indicated on the illustration below.

Then I cut the flaps and side tab, as indicated by the red lines on the illustration below.

With the right side facing up I applied double sided tape to the side tab, adjacent to the fold line.

I flipped the card stock over and applied double sided tape adjacent to the edgesof two of the bottom flaps. (I could have picked the first and third or second and fourth flaps.)

I folded up along all scored lines,

then folded the side edges towards the middle.

I removed the paper from the tape that was on the flap,

and pressed the other edge to the taped edge.

I opened the box, stood it bottom side up so that the flaps with the double sided tape were on top. I folded down the two untaped flaps.

I removed the papers from the double sided tape,

folded down first one flap,

and then the other.

I flipped the box over and used the end of a marker to press the flaps together.

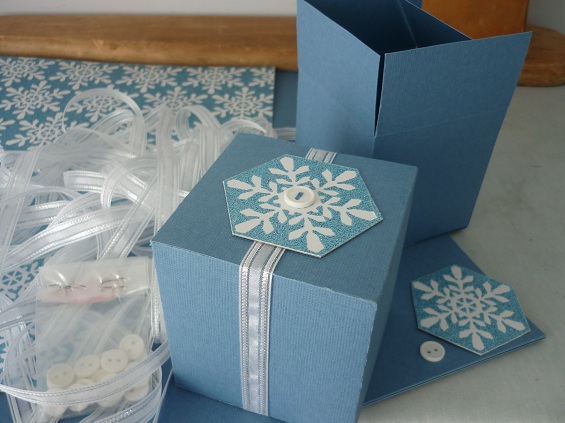
After I fill the boxes I can embellish them with ribbons etc.


No comments:
Post a Comment