
The design for this ornament is an adaptation of St. Nick at Night by Pride of the Prairies. It was stitched with one strand of #823 DMC floss over one on 28 count Antique White Fabric.
This page doesn't show all of the steps to finish the illustrated ornament because some of the steps were already explained on the Circle and Oval Ornament Tutorial. On that tutorial I gathered and laced the stitched fabric onto the mounting board but this time I wanted to try the self-stick mounting board. Also in the past when I used piping on circular or oval ornaments I used a length of ribbon to cover the ends of commercial piping but this time I made a seamed loop of piping.
Once I had decided on the size of oval I wanted for the ornament I used MS paint to make a pattern, glued the pattern to a scrap of boxboard to make a template and used the template to draw the ovals on the mounting boards. After I cut the oval shapes and adhered the padding I also used the template and a needle to mark the North, South, East and West edges of the ornament.
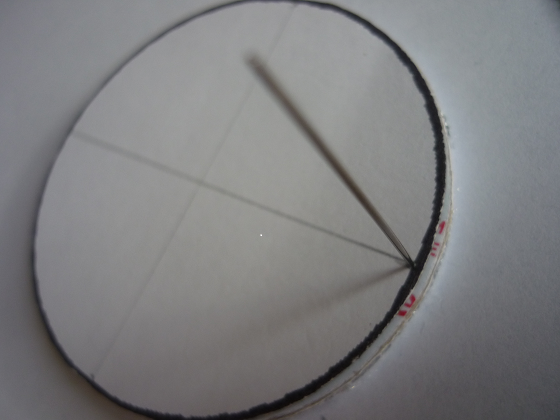

I made short running stitches 4 threads in length and 9 threads away from the center top, bottom and sides of the stitched design.

I folded back the liner from the top and bottom edges of the mounting board,

and placed it on the back of the stitched piece so that the running stitches at the top and bottom were centered on the marked center holes and equally visible.

I folded the fabric from the top edge over mounting board and pressed it in place. I repeated this with the fabric at the bottom edge, pulling it snug so the front surface would be taut.
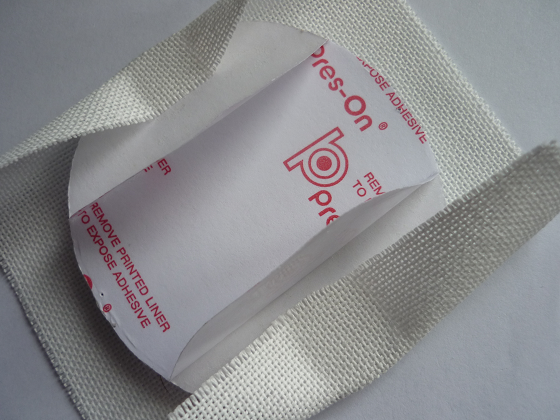
I removed the liner paper and repeated these steps on both sides.

I flipped it over,checked that the design was well centered on the mounting board (but neglected to take picture). Then I pulled 2 opposite corners of the fabric taut, pressed them against the mounting board,
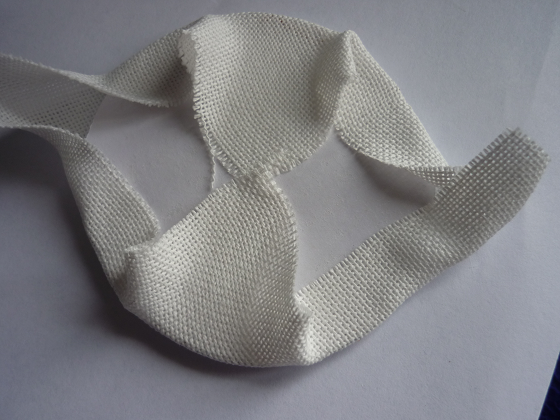
and checked to see if the design was still well centered.
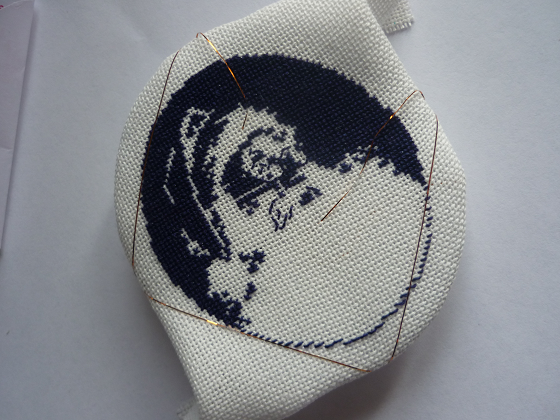
I repeated these steps with the 2 remaining corners,

and checked that the design was still well centered.

I slipped my finger into one of the folds of unadhered fabric, pulled it taut, made it into 2 folded darts and pressed the area between them to the mounting board. I repeated this with the other 7 folds to make 16 folded darts.

I pulled each dart toward the center and pressed the fabric near the point flat against the mounting board. (So that I would have an oval ornament instead of an ovalish ornament with 16 bumps around the edge.)

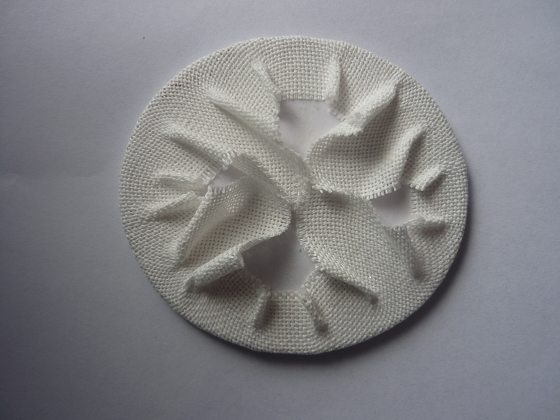
I trimmed each folded dart close to the mounting board and pressed all of the fabric, including the cut edges, firmly to the mounting board.

I flipped the ornament over and removed the running stitch thread. My verdict is that using these self-mounting boards for a circular or oval ornament was easier than gathering and lacing them. But I don’t know if they would have worked as well with a stiffer fabric, like Aida. I’m also not completely confident in the adhesion of these mounting boards so if I hadn’t been immediately assembling the ornament I would now have placed a weight on top of it until I was ready to proceed.

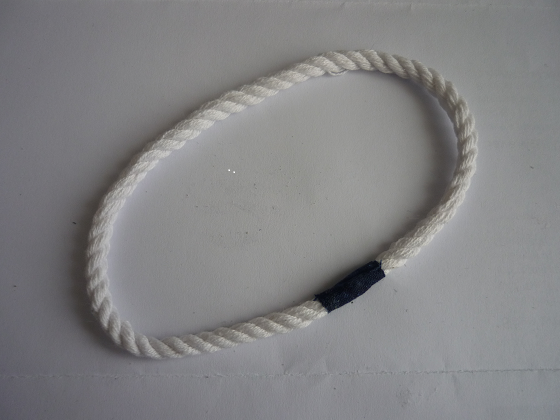
I cut a length of cording that was just long enough to wrap around the ornament and placed the ends of the cording together on a small rectangle of fabric to which I had applied a generous amount of quick drying, flexible fabric glue.

I wrapped the fabric over the ends and rolled it between my fingers to improve the contact with the cording.
I cut a strip of bias cut fabric that was 1 1/4 inches wide and long enough to go around the loop of cording plus 2 seam allowances. I sewed the two ends together to make a loop and then trimmed away the excess seam allowance.


I used a running stitch to sew the loop of cording inside the loop of fabric. (I positioned the cording splice opposite the fabric seam.)
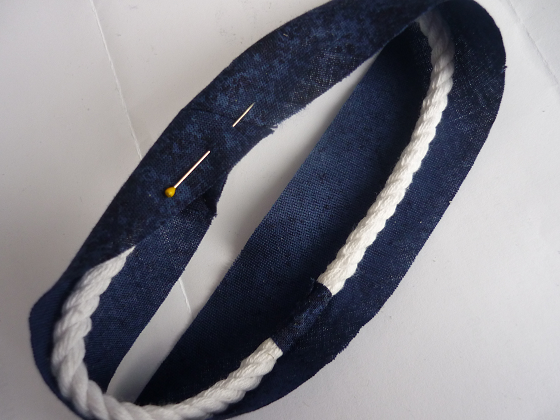
(If I hadn’t misplaced my zipper foot I could have instead used the basting stitch of my sewing machine.)

I pulled on the thread ends to gather the fabric a bit, so that the inside curve of the piping would better fit the ornament oval, and laid it flat on my work surface so that the fabric seam and cording splice would be approx. at the centers of the sides of the ornament. (Where the curve was the “straightest”.)

I had wondered how I was going to glue the piping to the ornament without accidentally smearing glue where I didn’t want it but it occurred to me that I could use the template to shape the piping into the correct oval shape. I put some double sided tape along the back edge of the template and pressed it into the center of the loop of piping.

I flipped over the oval template plus piping and squeezed a bead of glue onto the back of the ornament front, near but not against the edge.

I gently eased the ornament front over the loop of piping and, when I was confident that it was well centered, I pressed it firmly in place. I used a small dry paint brush to remove any excess glue that appeared in the gap.
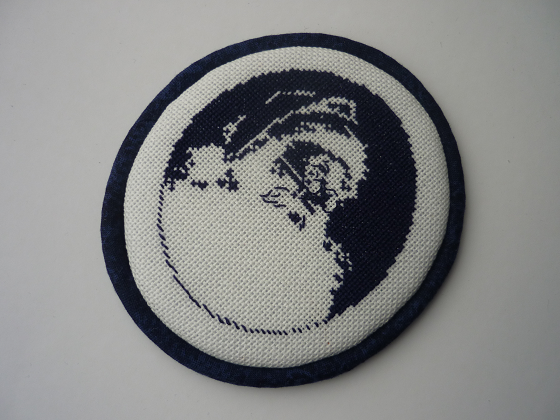
Because I wasn’t using quick drying glue, I placed my quilt ruler and a weight (book end) on top of the ornament front.

Then I assembled the back of the ornament as described on the Circular and Oval Ornament Tutorial.

When the glue was dry I removed the template and squeezed a bead of glue onto the seam allowance of the piping, near but not against the running stitch.
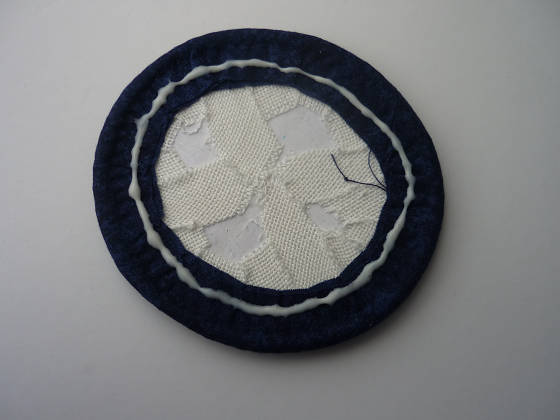
I gently eased the ornament back over the ornament front and when I was confident that it was well centered I pressed it firmly in place. I used a small dry paint brush to remove any excess glue that oozed into the gap and used the quilt ruler and weight to press it down while the glue dried.

When the glue was dry I installed a hanging loop of DMC perle #8 to the top of the ornament.


 Pinwheel 2020
